
Yesterday, it was a glorious Sunday. After I wrote the last post, I started the day willing to show some more love to my car. And since I knew my car had a problem, I started the first project of the day of cleaning the MAF (or Mass airflow sensor).
Well, I wanted to do this for a while now, because when I floored the accelerator pedal, I noticed a milliseconds stall in the acceleration, especially after the 120 km/h mark. So I did some research and concluded the a MAF cleaning was in order.

The process of cleaning the MAF is very simple.
I started by removing the connector from the MAF using a small flat head screwdriver.

Then, I removed the O ring that was attached to the MAF again with the flat head screwdriver

Now I had to unscrew the 2 Torx t25 screws that hold the MAF to the air filter housing.
One was up and in plain sight,

the other was under the MAF and don't know why was highly oxidized

At this point the MAF was loose on one side, the side that was connected to the air filter housing. I removed the top of the air filter housing and pulled the MAF out. I must note that I had help from my brother in law who has pulled the air filter housing top while I tried to hold still the tube that contains the MAF. I strongly suggest you get an extra pair of hands when you do this process.
Here is the MAF disconnected from the air filter housing, resting on the air filter.


Well, as I expected, the filter housing was full of sand, dirt, a variety of bugs, even small stones.

So, I continued to take out the MAF, again with the help of my brother in law who this time held the tube and me pulling the MAF out completely from the tube.
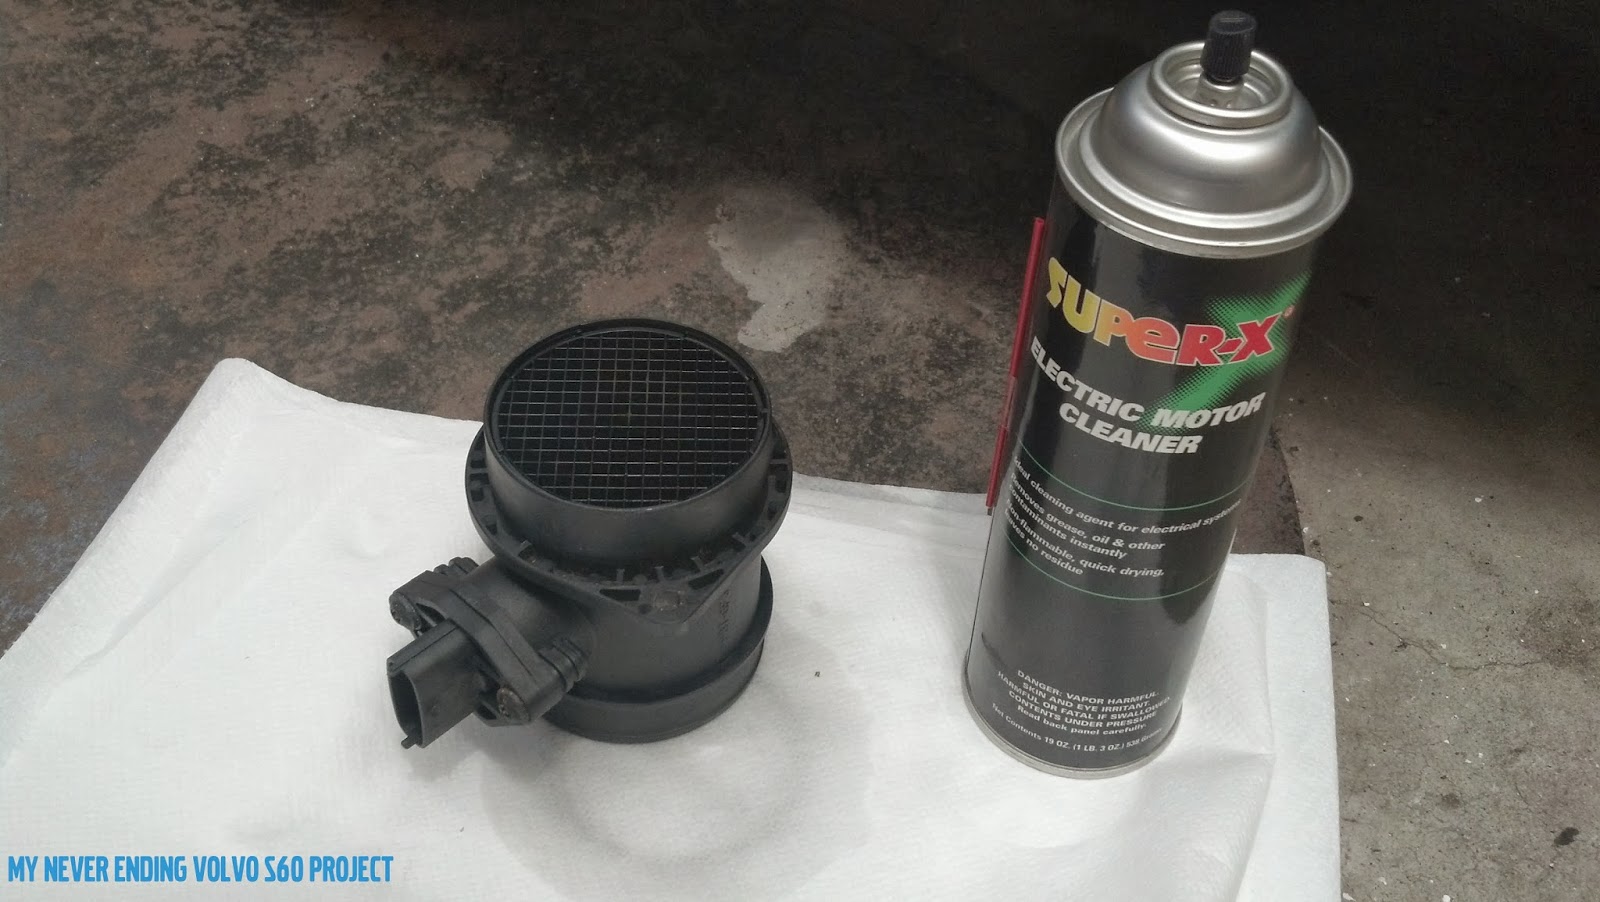
Then I placed the MAF on some paper towels and used this Electric motor Cleaner product. I sprayed this product in the MAF from both ends. I know, some will say that I should have used the CRC MAF Cleaner product, but I was assured by others that any electric cleaner product will do. I sprayed the MAF twice with plenty of drying timed in between and using a fair amount of the cleaning product.
Every time, this black sludge dripped from the MAF.

While I waited for the MAF to dry, I cleaned the air filter box. First I used a plastic bag to cover the tube where the MAF used to sit. Then, using the same product I used to clean the MAF I sprayed in the air filter box, then wiped it with a paper towel.
You can see the plastic bag in the top left corner of the picture.

The rest of the dirt and dust was cleaned using a regular kitchen sponge and plain water then compressed air.
Finally, everything was clean and we started reassembling everything back in reverse order starting with the MAF, then air filter and air filter housing.
Notice the small arrow in this picture, it will show you the right way you should assemble the MAF. The arrow should point away from the air filter housing.

Don't forget the plastic bag (if you used one), the O ring and the screws.
After I was done, I test drove the car and... no more lag, acceleration is again smooth and continuous.
Many happy and safe journeys! And please don't forget to stop by the Poll section of my blog and vote! Thanks!
As always, a very helpful and informative post. I enjoyed it very much.
ReplyDeleteGlad it helped you!
DeleteVery helpful! Thank you!
ReplyDeleteDid your sell your car? I see there's a while since your last post
Glad I could help. Haven't sold the car and I don't intend to. However I am waiting for better times when my finances will not be so low.
DeleteI'm.about to spend a lot of money in my car a 2003 2.0T... Just doing a huge maintenance... Timing belt kit, serpentine belt, control arms, brake discs and the regular maintenance itens... So I'm trying to learn more DIY projects so I can save some cash..
DeleteThank you again
And wish you best finances time to improve your awesome car
Thank you for your wishes and good luck with the mods! Hopefully I will get for my birthday the facelifted front bumper so I would finish the cosmetic part of the project.
DeleteNoticeable improvement?
ReplyDeleteHi EL, well the small lag has disappeared.
DeleteNoticeable improvement?
ReplyDelete