Showing posts with label Volvo. Show all posts

Sunday, December 22, 2013

Seeing double

Hello people!
This year, just before Christmas, I decided I wanted to give me a present. So, I started by buying an used 2005 Volvo S60 rear bumper with all the brackets. So I searched the net, and in the end, I found one in Hungary at a salvage shop. After speaking several times with the owners of the shop, I went ahead and bought it, along with a pair of 2005 Volvo S60 tail lights, based on the pictures they sent me by mail:
However, they proved to be very deceitful and highly unprofessional. I ended up getting this piece of junk and no tail lights after nearly a month of waiting:
The sad truth: it wasn't even the same color as the one depicted in the photos they sent me
This was the "icing on the cake": broken plastic trim 
After looking at it, I almost decided to drop the entire project, the blog and everything. After almost a month of being constantly on the road, I managed to get the car to a specialist shop, where my muffler was cut down. A few days later, my new tips arrived, so we started by changing the rear bumper. We did this for 2 reasons. First, my obsession of updating the looks of the car to the newer P2 Volvo S60. Second, it was much easier to cut the hole in that spoiler for the right hand exhaust tip. 
Original bumper off
The conversion of the rear bumper is very easy if you have the side brackets. They are needed to ensure a perfect fit. Even with the '02 brackets installed you can mount the newer bumper, but the fitting will be a little off. 
I'll cover the rear bumper conversion in another post in the DIY section.
What followed was a lot of welding.
The split for the dual exhaust
The split installed
Measuring the clearance of the new left exhaust tip
 Final position of the exhaust tip
Left side tacked into position
The rear bumper was then cut to match the left side, and the exhaust pipe was tacked also into position.
All it took was to finish welding all the parts together and presto:
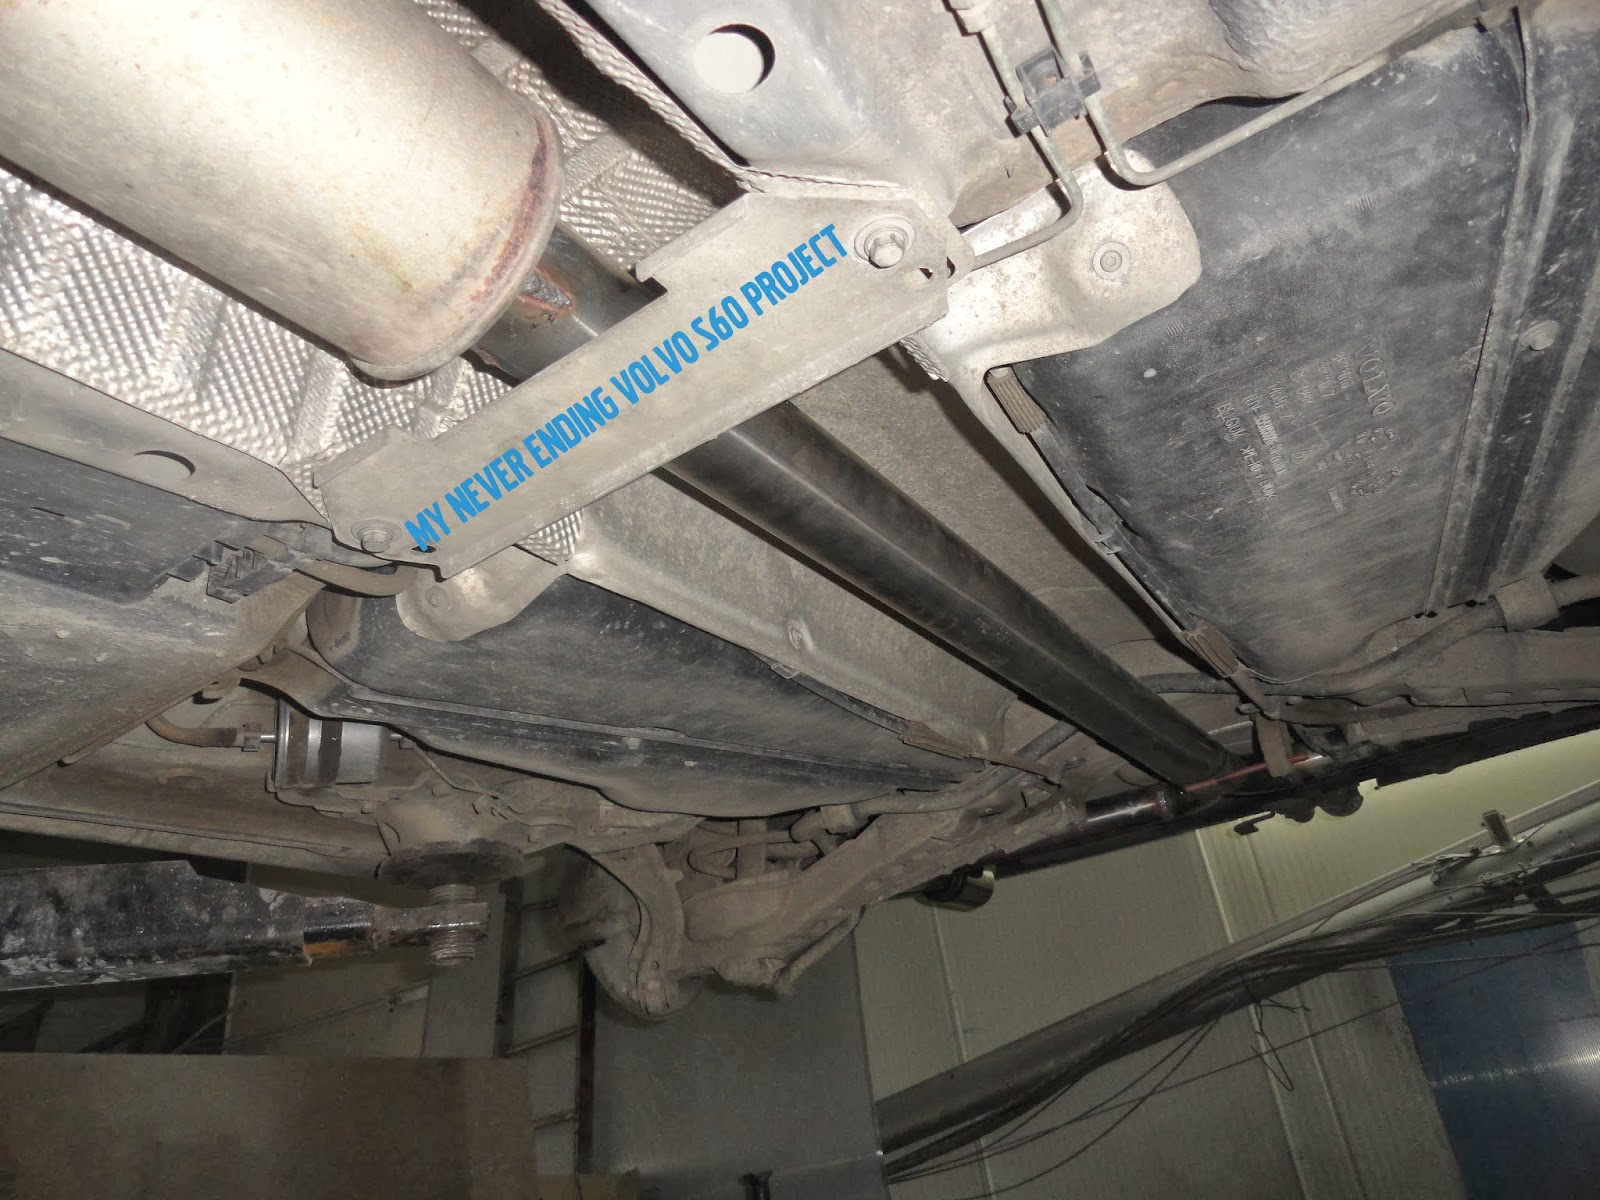
 The main advantage of this system over the commercial ones like I mentioned in my wish list is that the exhaust coming out of the dual pipes is equal or symmetrical
In January I will take the rear bumper back to the specialist shop for repairs and paint and I will keep you posted. Till then, one last picture:

I will end this post wishing you all, a Merry Blessed Christmas and A Brand New Year full with wishes that will come true!
Safe journeys everyone!

UPDATE: 25.01.2014

Hello all!
I managed to fix and paint the bumper at a specialist shop. Now, the rear end transformation is almost complete. All I need now is to rebadge the car with the new spread VOLVO lettering and a pair of 2005+ rear lights.
Leaving the shop
At home, in the garage

Safe journeys everyone!


Friday, October 25, 2013

The key switch

Hi all!
Today I will post about what I changed yesterday. For years I've been yearning to get my hands on a Switchblade style key fob for my Volvo. So I finally decided to buy a complete case with an uncut blade from ebay.It was cheap, about 30 $. Normally I would have made another post with the unboxing of the key, but this time, I didn't really like the seller so I will not do such a post and will not recommend him because the delivery took more than a month. The key is very nice and functional, but the wait was terrible.

So let's get down to business:
Here's the new uncut key next to my old key. Notice to the left there is a small screw that came with the new key.
So what I did first was to disassemble the new key completely and take the uncut key out. I bought this type of case which is not OEM, it is a replica, because it can be dismantled completely  and therefore I can use all the electronic parts from my old fob in it, therefore, after all the process is done, I have a working key, without having the need to go to the dealer and program it.
If you choose to go the same way I did, when you try to take out the key, pry apart the 2 plastic parts holding the key gently, because there is a spring inside.
I got the key cut at a specialised store (I was surprised how little it was, about 3-4$)
My old key again, with the blade (now cut) and the top part of the key fob
And a quick reassembly of the top part holding the cut key (just to test how difficult it is)
This key case I bought didn't come with any electronics. So it was up to me to insert my electronics from my key. First I started with the easy task of switching the motherboard. It is very easy to do. You only have one 8T torx screw that holds your remote in place. Unscrew, and separate gently.
Here you can see the remote electronic board moved it the new remote.
I also transferred the metallic contact for the battery from my old remote, the new one didn't had one but has a place where it fits perfectly.
Now the next challenge: To get the transponder out of my original key and into the new one. Note: without the transponder chip, your new key will open your car and turn on the ignition but the engine will not start and you will get a fault code.
Here is where the transponder chip will fit.
Now... where can it be? WARNING (Slasher movie pics following)
For this part I had the aid of my brother in law. So, where to cut first? I decided to cut on the left side of the key when holding the key with the manufacturer stamp up. Basically, on one side of my key is stamped Valeo (manufacturer) and on the other is Made in (somewhere). And after a few slices, in the other parts of the key, because I couldn't find any references as to where the chip is located, I started going deeper in the original place where I started cutting.
 So I passed the soft plastic layer, then a hard plastic, and going deeper I found another layer of soft plastic.
Blue arrow soft plastic, green arrow hard plastic
That moment I knew we found it. So we started cutting the top side of the plastic to find a hole to get it out and sure enough, after a few layers of plastic here it was:
I also took another picture with flash on so that you can see better the glass case of the chip
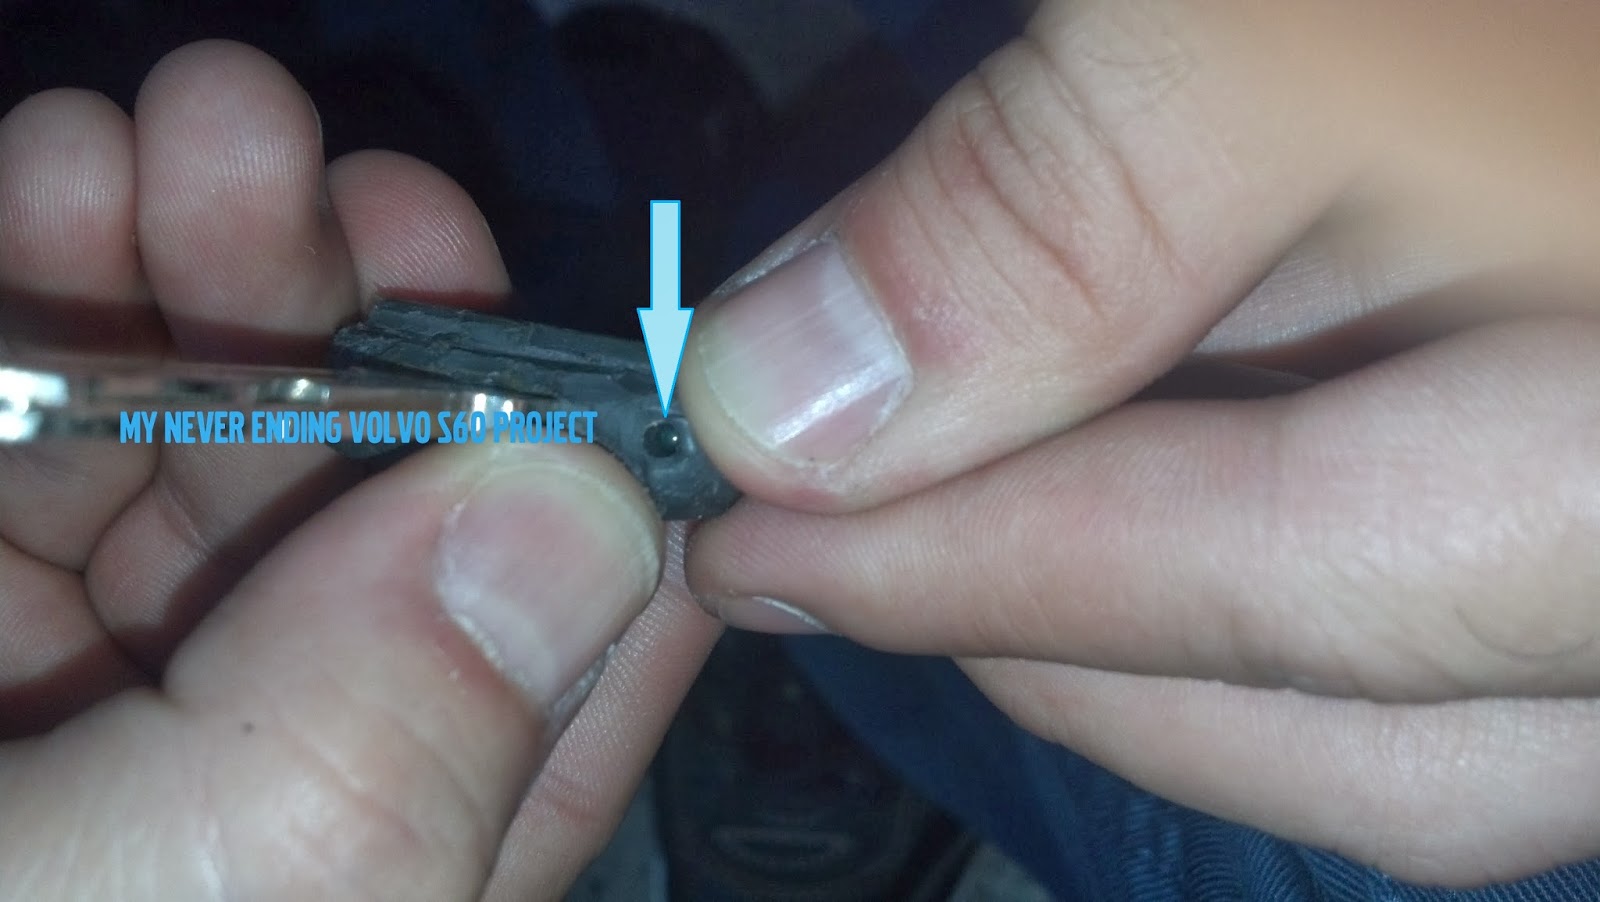
Here is the transponder chip located. Picture taken after I removed the soft plastic cover using only my finger nails so not to accidentally destroy the transponder
Using a wooden toothpick I pried the transponder chip out noting the position.
 After all this, I placed the transponder in the new casing where I showed you, reassembled the key, and voila: new switchblade key fob conversion completed.
Final result:
The upper part of the new key fob (the one holding the key, transponder, spring and the silver button) will need to be glued shut so that it will not accidentally dismantle when you turn the key in the ignition.

Hope you liked what you've read. If you consider doing this yourself and find yourself in trouble, or if you need advice, or if you just want to share opinions, please use the comment section below. 


.


Tuesday, September 24, 2013

T5 white LEDs for the DIM and H1 white LEDs for the fog lamps from http://becleduri.ro

Hi Volvo lovers!
This will be my second unboxing post where I will show you what I bought again.
So, I was getting tired of the green DIM lights so I needed a change. Did some research and found that for the DIM I need 9 T5 LEDs. So I searched online, and because all the sellers from ebay had very long shipping times, I decided to go to a local (Romanian) site and purchase them.
What was nice about this site is that they offer discount if you buy 10 pcs. So I said to myself, what the heck, let's order 10 T5. Also I decided, that if I order LEDs, I should switch the foglights too so I ordered 2 H1 LEDs too.

The package arrived next morning and was just a white box with nothing on it
After opening the box there was some bubble wrap as you would expect
Under the wrap, individually packed LEDs, well, not the T5s, the others
And surprise, the guys I bought the LEDs from gave me 1 extra T5 as a gift! Nice!
And the H1s

Costs: 10 T5 LED: 5,37 euro plus 1 free
            2 H1 LED: 11,85 euro
             shipping: 1,90 euro
TOTAL: 19,12 euro I belive it was a steal! I can't wait to show you how they perform! Stay tuned!

Safe and happy journeys everyone!


Monday, September 23, 2013

Let's breathe

Hello again!
Yesterday, it was a glorious Sunday. After I wrote the last post, I started the day willing to show some more love to my car. And since I knew my car had a problem, I started the first project of the day of cleaning the MAF (or Mass airflow sensor).

Well, I wanted to do this for a while now, because when I floored the accelerator pedal, I noticed a milliseconds stall in the acceleration, especially after the 120 km/h mark. So I did some research and concluded the a MAF cleaning was in order.
The process of cleaning the MAF is very simple. 
I started by removing the connector from the MAF using a small flat head screwdriver.
Then, I removed the O ring that was attached to the MAF again with the flat head screwdriver
Now I had to unscrew the 2 Torx t25 screws that hold the MAF to the air filter housing.
One was up and in plain sight,
the other was under the MAF and don't know why was highly oxidized
At this point the MAF was loose on one side, the side that was connected to the air filter housing. I removed the top of the air filter housing and pulled the MAF out. I must note that I had help from my brother in law who has pulled the air filter housing top while I tried to hold still the tube that contains the MAF. I strongly suggest you get an extra pair of hands when you do this process.
Here is the MAF disconnected from the air filter housing, resting on the air filter.

 Next, I was really curious about the state of the air filter, so I pulled it out. What comes next it's not a shocker for me, but it may be to you:
Well, as I expected, the filter housing was full of sand, dirt, a variety of bugs, even small stones.
So, I continued to take out the MAF, again with the help of my brother in law who this time held the tube and me pulling the MAF out completely from the tube.
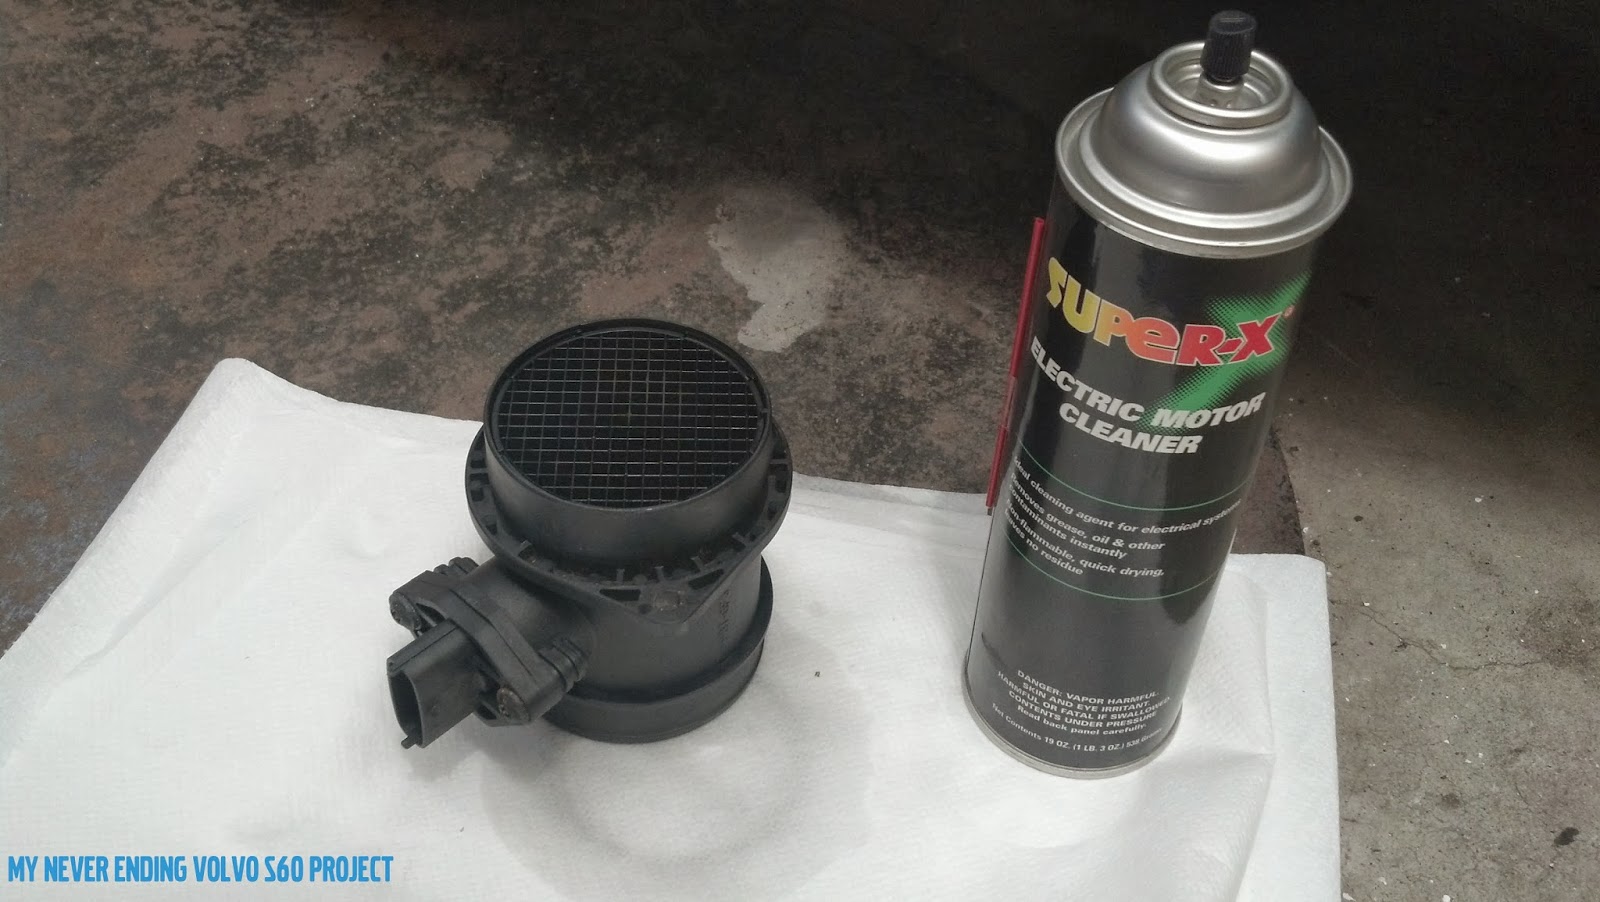
Then I placed the MAF on some paper towels and used this Electric motor Cleaner product. I sprayed this product in the MAF from both ends. I know, some will say that I should have used the CRC MAF Cleaner product, but I was assured by others that any electric cleaner product will do. I sprayed the MAF twice with plenty of drying timed in between and using a fair amount of the cleaning product.
  Every time, this black sludge dripped from the MAF.
While I waited for the MAF to dry, I cleaned the air filter box. First I used a plastic bag to cover the tube where the MAF used to sit. Then, using the same product I used to clean the MAF I sprayed in the air filter box, then wiped it with a paper towel.
You can see the plastic bag in the top left corner of the picture.
The rest of the dirt and dust was cleaned using a regular kitchen sponge and plain water then compressed air.
Finally, everything was clean and we started reassembling everything back in reverse order starting with the MAF, then air filter and air filter housing.
Notice the small arrow in this picture, it will show you the right way you should assemble the MAF. The arrow should point away from the air filter housing.
Don't forget the plastic bag (if you used one), the O ring and the screws.
After I was done, I test drove the car and... no more lag, acceleration is again smooth and continuous.

Many happy and safe journeys! And please don't forget to stop by the Poll section of my blog and vote! Thanks!